Tag Archives: photography

Prints

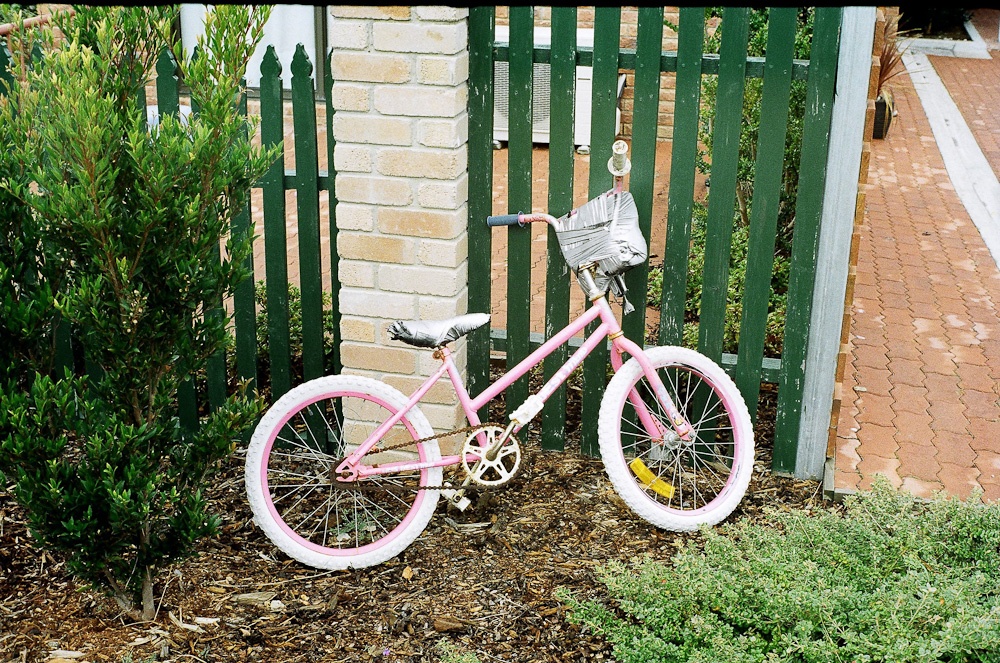
Shocking photo, let down by my iPhone.

It intrigues me that in a a world where the entire process is digital, there’s still intrinsic value to be had from a distinctly analog concept; the concept of prints.

Film is so unique in that traditionally, people have just made prints directly from their negatives or slides. But then the digital revolution happened, and people started digitising their negatives so they could view them on their new-fangled computers. Prints kinda, sorta, fell out of fashion as costs for developing and printing soared with the digital revolution. For many people, digital was all about convenience — being able to instantly view photos and share them to others was a huge plus. Having to wait an entire hour before photos could be viewed was a thing of the past. Our time grew more valuable, and film was all but forgotten.

Not so in the film industry, apparently, where film still holds a special something over digital:

No wonder, then, that directors like Christopher Nolan worry that if 35mm film dies, so will the gold standard of how movies are made. Film cameras require reloading every 10 minutes. They teach discipline. Digital cameras can shoot far longer, much to the dismay of actors like Robert Downey Jr. — who, rumor has it, protests by leaving bottles of urine on set.

There’s something about film which makes it command a certain amount of respect, a certain reverence. Digital is cheap. Film is not:

“Because when you hear the camera whirring, you know that money is going through it,” Wright says. “There’s a respectfulness that comes when you’re burning up film.”

I do quite a bit of shooting for my youth group, and while I’m definitely getting too old for a “youth group”, no one really seems to mind, or at least they’re not telling me about it (a topic for another time).

At youth, we have this wall that shows off photos of the youth. Photos from past events, photos from trips to Planetshakers, photos from previous Relay events, and things like that. It’s pretty cool, but the photos are a few years old now.

I was recently approached by the youth leader, to see if we could put a few new photos up. As I was the one who had been taking photos for the better part of the year, I was the one who would provide the photos. It made complete sense, and yet, to be asked of such a thing felt like a huge honour. I know it was probably inevitable and just common sense, but still, this was a Pretty Big Deal for me.

I had already uploaded a few photos to our Facebook group, and I already have a collection in Lightroom that has all the best shots from youth, so choosing which shots to print was a non-issue.

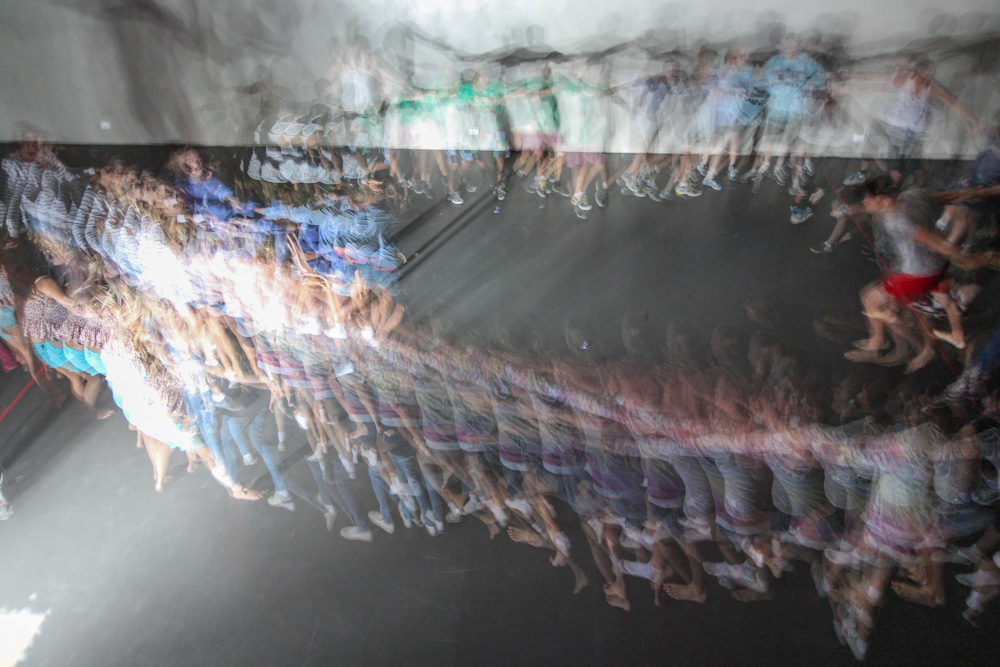
Numbers kind of were, but I ended up being ruthless and culling mediocre photos from the ones that were worthy of being printed. There were a few exceptions to this rule, and they were mostly photos that were good in terms of subject/composition/emotion, but perhaps technically flawed (slightly missed focus, limbs cut off weirdly, etc). It was interesting finding a line between choosing photos that were interesting and showed the “right stuff”, and photos that were perhaps not that good in terms of subject, but were still interesting, like the photo below. One night we played with a strobe, and that made for a cool photo, even though you can’t make out anyone in particular.

Anyway. 105 photos later, with about 7 enlargements of the group shots, and I’m happy with how the photos turned out. It was interesting seeing the difference between how the photos looked on-screen and how they looked when printed out, but for the most part things were pretty good.

All in all, a good experience. It’s kinda funny, because photography enthusiasts and hobbyists don’t really print out their digital images all that often, but mums, dads, and grandparents do it all the time.

Funny how things work like that.

Point and Shoot (feat. Olympus mju-II)

A roll of film: $10.

A new camera: $70.

Realising that the above title could have meant that this post could been about DayZ, or about a new film camera: priceless.

As much as I enjoy shooting film, using cameras from the 60s (and especially at the sub-$100 price range) mean you do without some of the modern niceties such as autofocus and autoexposure. In the beginning, that was okay — even without a working in-camera light meter, it was okay. Guessing exposures was pretty educational at the very least, and photos that turned out “good” were all the more satisfying because I know I had more input that I would have had if I had used a modern DSLR.

I’m not saying that you get sick of setting the exposure, then manually focusing the shot, but after a few rolls it starts to get a bit old. I wanted something that was easy to shoot film with, something with good enough optical quality, and something that was much more compact than the behemoth of my Yashica Lynx.

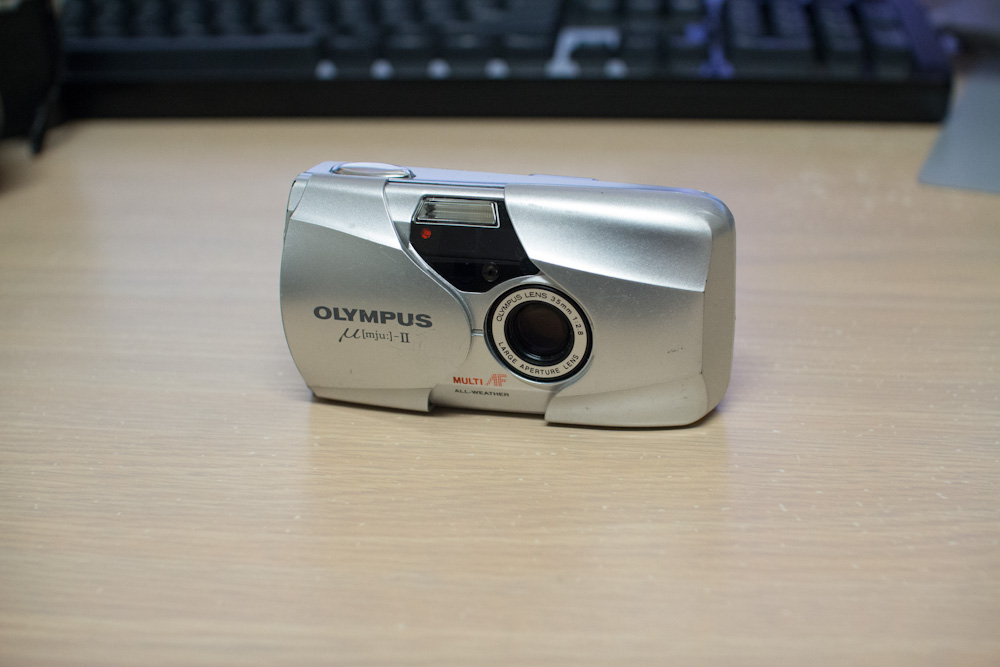
Cue the Olympus mju II. Also known as the Stylus Epic in the US, it’s a small film camera that features autofocus and autoexposure — even the text printed on the back describes it as an ultra-compact 35mm camera. It fits into basically any pocket, has a super-fast startup time, and best of all, shoots film. You’ve probably seen one of these before, and for good reason: it was an extremely popular camera, back in the days when film was much more popular than it is now.

My only complaint about the mju II is that the viewfinder is… tiny, to put it nicely. It’s perhaps half the size of your thumbnail — which is minuscule compared to the viewfinder on your typical DSLR, and if you don’t put your eye up to it at exactly the right point you’ll see nothing. Once you get over that, it’s a nice film camera which seems to want to fire the flash more often than is truly necessary. My version also has one or two issues with loading film, which means loading a new roll takes a minute or so longer than it should, but it’s really a non-issue because everything else is perfect.

The Olympus mju II has a fixed 35mm lens that has a maximum aperture of f/2, and I’ve heard quite a few people rave about how good it is for its size, and especially compared to some of the higher-priced point-and-shoot film cameras. Maybe if I had a few thousand spare I might have gotten a Konica Hexar AF instead, but for now, the mju II was the better choice. It came in a zoom version as well, but apparently the prime version has better optics…

And it’s such a blast to shoot with.

Instead of lugging around the ol’ ball and chain around your neck, you’re simply reaching into your pocket, sliding back the cover, and taking the shot. You think less about the technicalities of taking the shot, and actually take the shot.

It’s easy. Effortless. It means that good pictures as easy to capture, because all you’re doing is depressing a shutter button — and sometimes, that’s exactly what you need to do. Sometimes it’s about the shot itself, rather than setting up the aperture, shutter speed, and then focusing the lens.

But why not do the same with digital, you might ask. After all, there are plenty of good point-and-shoots available for the digital format, some vastly more capable than this little Olympus. That, my friends, is a question for another time.

Overexposed

Third post in one day? I must be procastinating assignments (like that doesn’t happen enough already).

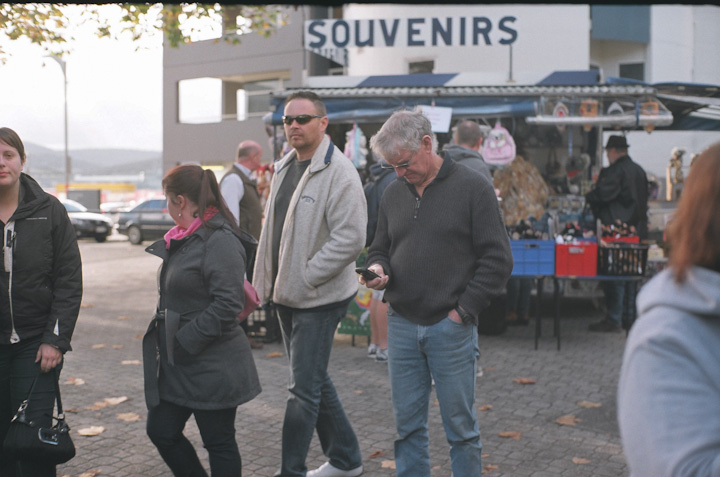
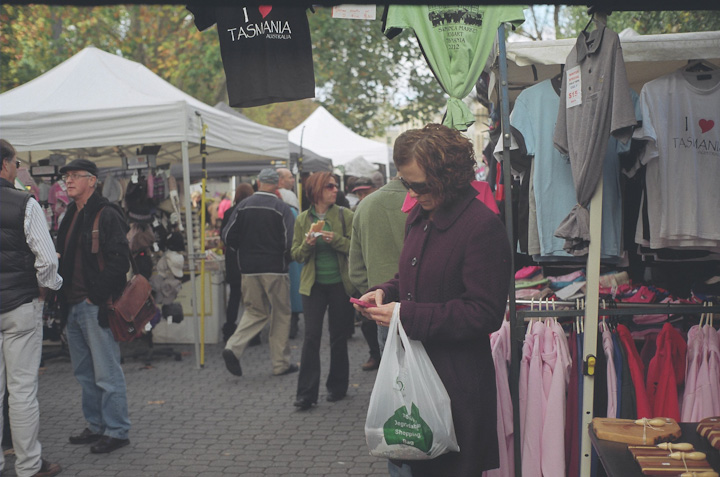
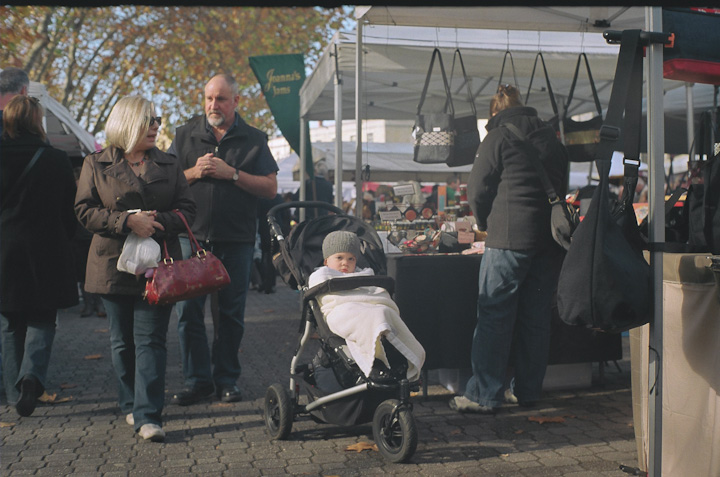
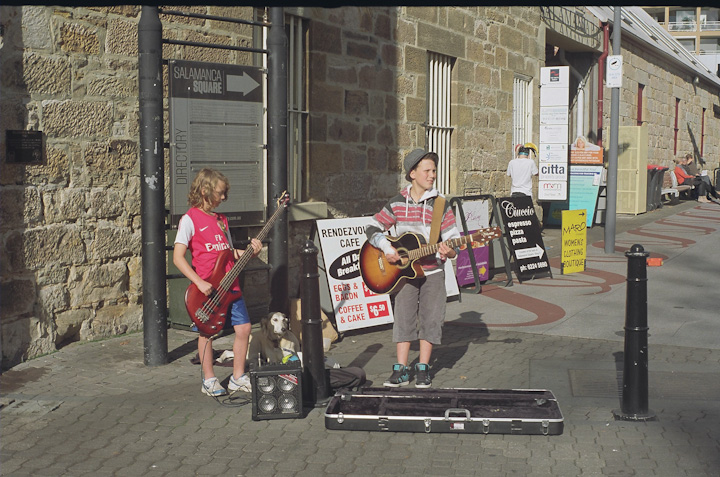
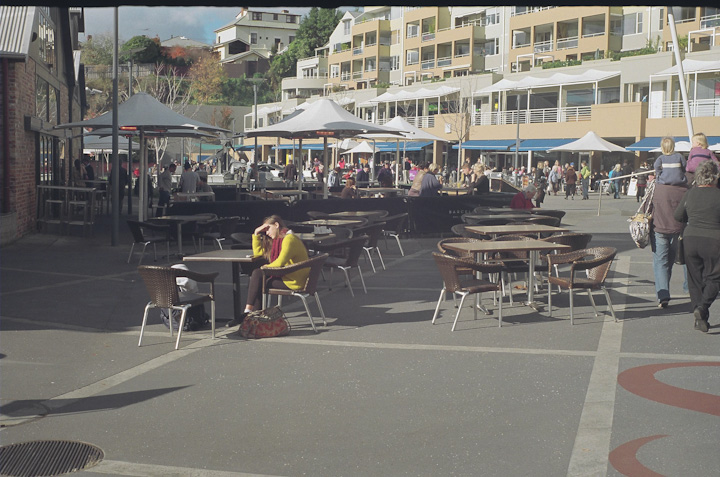
I got a day off work the other week, and I decided to go back to the Salamanca Markets. I really love the Markets for street, because there’s more than enough subjects to photgraph. Tourists pointing their DSLRs at locals, locals trying to sell their wares to tourists, buskers, people just enjoying the atmosphere, and more. Last time I went was back in February, and I took my DSLR that time. This time my Yashica would be tagging along for a bit of film action.

I managed to go trough four rolls in the space of two hours, for a total of 103 exposures. Once you get into the zone, it’s all just shoot, advance, shoot, advance. It’s a good feeling.

The only bad part was, most of the photos turned out quite overexposed. I think it might have been the tricky light conditions fooling my light meter, or just the light meter not giving me an accurate read-out, but most of the photos have an opaque white cast to them, what I believe is overexposure in the film world. Digital overexposure means that the whole image is uniformly brighter, but film overexposure is different, as far as I can tell.

In any case, here are a few of the better ones. They’ve been knocked down by up to a stop — there were others, but these are the ones that turned out kind-of okay and didn’t have too much of an opaque white cast.

The good news is, I’ll have a few more days off the in future, so I’ll definitely go back.

Film, continued

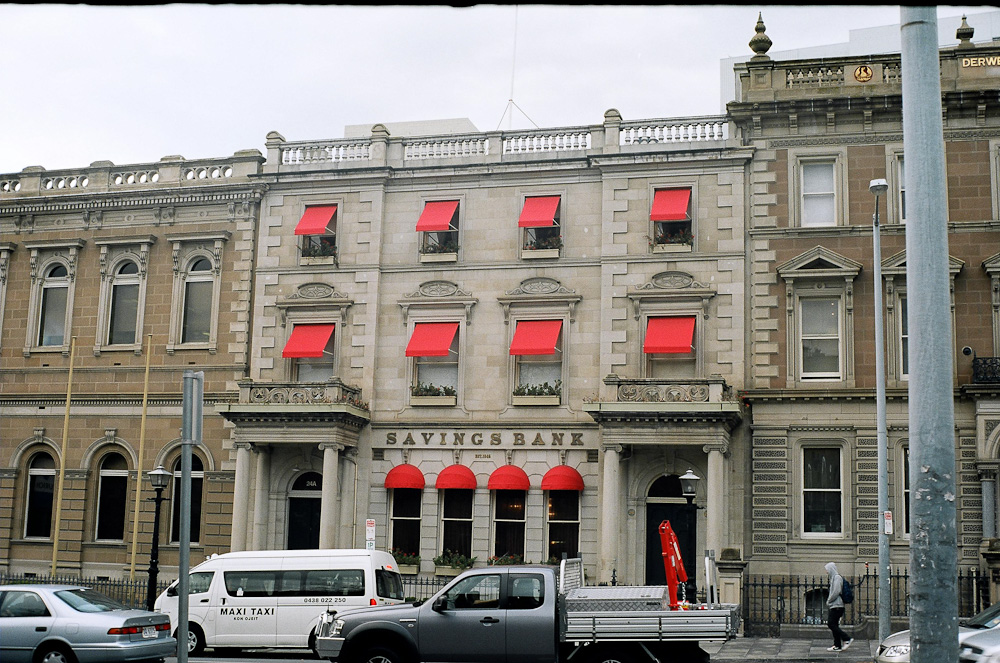
Red Awning

One of the crazy things I love about film is that your photos can change depending on what film you’re using, how it’s developed, and if you’re getting scans done, how good the scanner is.

It’s like each kind of film has its own character. Each kind of film is unique, different to the next, and I’m not even talking about the difference between B&W, slides/transparencies, or colour negatives, I’m talking about differences in grain type and amount, colour reproduction, dynamic range, and so on.

The differences between different brands and even different labels within the same manufacturer is crazy. Buy Kodak Portra, and you’ll get different/better skin tones than, say, Kodak Gold. Buy Kodak Ektar and, you’ll get much nicer grain than Kodak Ultramax (ISO differences aside). And so on.

It’s one of the things that appeals to me about film: digital is very predictable in terms of what you can expect straight out of the camera, whereas with film the kind of film you’re shooting can have a much greater impact on your photos than what kind of lens you’re using, for example. The differing characteristics from one film to the next give it that special edge over digital. It just adds a bit of variety, you know?

One of the realities of photography is that as you increase the sensitivity, you increase the amount of artefacts that appear in your image. With digital, as you ramp up the ISO you get more noise. With film, as you get a higher-rated film you get more grain. But here’s the rub: film grain resolves detail much better than digital noise does. Not only that, but film grain is much more evenly spread out across the image. Compare that to digital, where noise is essentially just a whole lot of random pixels, and can differ in appearance depending on where it appears in the image (i.e. it’s more pronounced in shadows than it is on subjects).

Don’t get me wrong, film is “worse” for grain at the same sensitivities when compared to digital. My DSLR can practically see in the dark when I’m shooting at ISO 12,800, but things are, not surprisingly, pretty noisy at those kinds of ISOs. At the same sensitivities, digital beats film hands down — but I much prefer the look of film grain to digital noise.

I’ve been asked if I develop my own stuff, and the answer is: no. Not because I don’t want to, but because that’s a whole other can of worms. For now, I get my C-41 (colour negatives) processed and either scanned or printed locally (i.e. Hobart), and I haven’t shot any E-6 (slides/transparencies) but I know that no one in Hobart commercially develops it anymore, and same goes for B&W.

I mean, developing your own film does have its advantages; you’re the only one that gets to see your “work”, you’re totally self-sufficient, and apparently it’s extremely cheap to DIY, but — and here’s the kicker — it’s a lot of extra work. Developing your own negatives requires messing around with chemicals, temperatures, not to mention the fact you need to arrange some kind of total-darkness environment. We haven’t even touched on the problem of needing to digitise your own negatives/slides, requiring a half-decent scanner if you want any kind of quality scans. Consumer flatbeds just don’t cut it.

Make no mistake, developing your own negatives is a whole different ball game. It gives you total control over your photography, but it’s a lot of extra work on top of just taking the shot.

Maybe I’ll start thinking about developing my own if I start taking this any more seriously than just what I’m doing at the moment, but for now, the local lab does acceptable scans, even if they’re not as high a quality that I would like (only 3 megapixels!).

I have a new camera on the way, which is a nice little Olympus point and shoot. I’ve been wanting a film camera as a daily carry for a while now, and maybe this little Olympus will be a good compromise for the time being. At least until I work up the courage to fork out for a Bessa, anyway.

Film (is not dead)

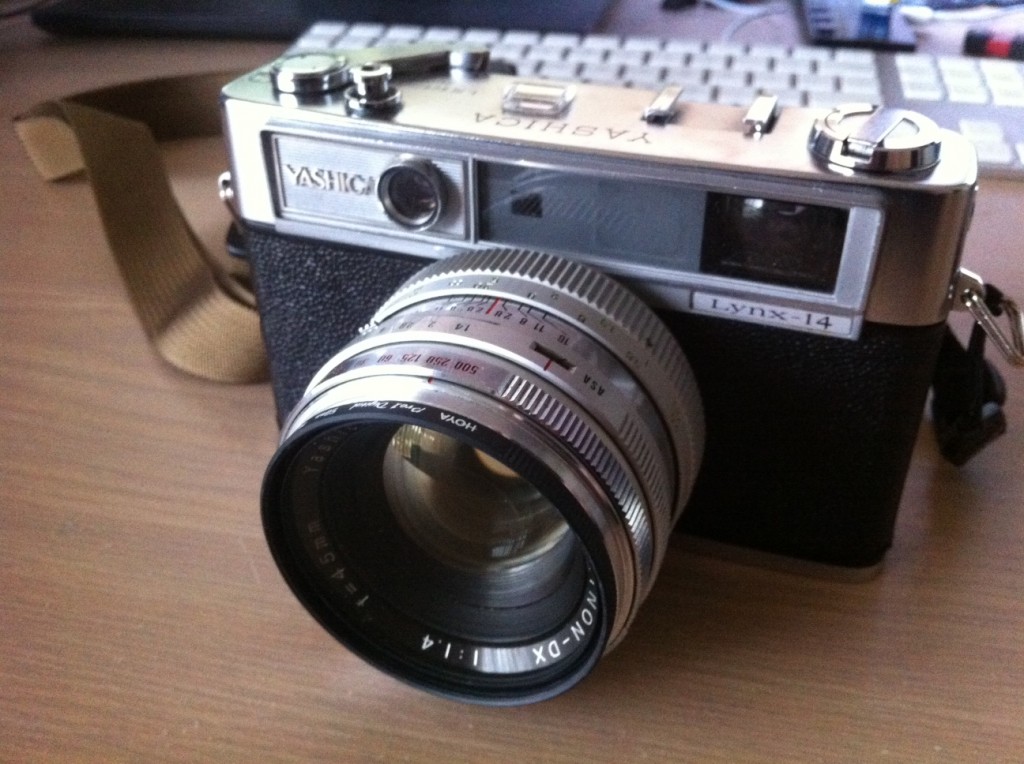
yashica lynx 14

For about a fortnight now I’ve been experimenting with film photography. Truth be told, I don’t even think I’ve touched my DSLR in that time, and here’s why: film is not dead.

Far from it, in fact.

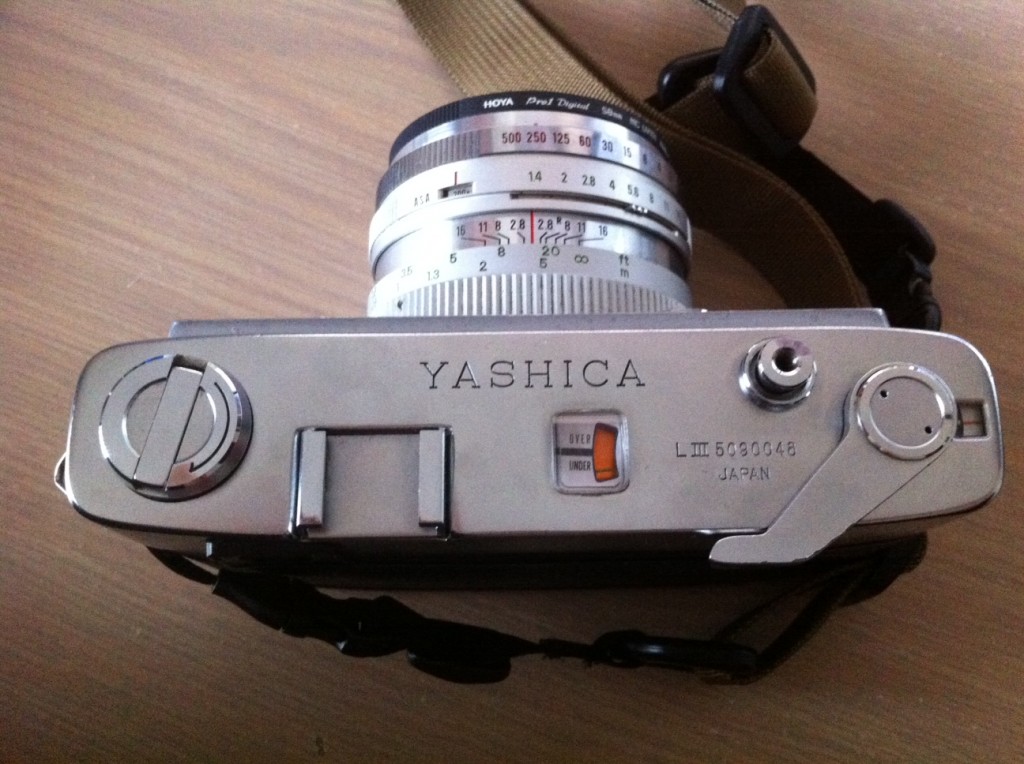
Our story today starts with an old 35mm rangefinder I bought off a guy recently. It’s a Yashica Lynx 14 from 1965, one that comes with a super-quiet leaf shutter and a huge, 45mm f/1.4 lens that completely dominates the camera. 58mm filters are gargantuan compared to normal rangefinder lenses, and big even compared to some of my DSLR lenses. There’s also a self-timer that runs for “approximately 8 seconds”, in case you were thinking of taking selfies without a mirror or something.

Not that you would want to, of course due to how incredibly awkward it would be at first: it’s manual everything: manual focus and manual exposure, featuring manual shutter speed and manual (stepless!1) aperture. The built-in light meter didn’t work when I received it, but I imported a few Wein cells which fixed fixed that up (mercury batteries are a little hard to come by these days, so mercury replacement batteries are the next best thing). Other than that, one of the greatest things about this camera and so many others like it is that it’s completely mechanical: the only reason you need batteries at all is for the light meter, which isn’t that big of a deal as you can always guess exposures or use a stand-alone light meter (or your iPhone, or your DSLR). The ability to take photos without batteries, is a pretty big deal.

yashica lynx top

Why a film rangefinder, I hear you ask? I guess between a film rangefinder and a film SLR, the decision was pretty simple. They’re both about the same in terms of availability, and more or less around the same price range. Buying something like an EOS-type SLR body wouldn’t have been all that different to my current digital SLR. A later-generation EOS film body might have allowed me to use my current glass, but I wanted to shoot film mostly because it was different to digital. That meant I needed something much more different than my current DSLR, and for that, I needed a rangefinder. If I’m being honest, I just wanted a smaller, more discreet camera for street, a topic for another time.

Taking photos with a rangefinder is different to what you’re probably used to, as well as being much the same. One of the main differences is how you focus: there’s a small patch in the viewfinder that you place over your subject, at which point you focus your lens using the “overlapping” image that appears. When the two images overlap perfectly and are superimposed over one another, then you’re in focus. It’s really quite cool, and makes for a unique way of focusing. There are downsides to this method though, the main one being that it doesn’t work well with low-contrast images/subjects. For the most part, it’s perfectly okay.

For two weeks, I used my Yashica rangefinder almost exclusively, and how I shot  during the first week was by metering shots using my iPhone or on occasion, my DSLR, translating the same aperture and shutter speed to my Lynx, framing, and taking the shot. The batteries for the built in light meter didn’t arrive until the second week, so for the first week I’d meter my shot, use the same shutter/aperture on my Lynx for that speed film I was using, and take the shot. Sometimes metering the shot was too time-consuming and pretty unwieldy having to get out my iPhone/DSLR and consult its superior metering (actually, now that I think about it I’m going to have to go with it was unwieldy most of the time), so for the first two weeks I guessed a fair few exposures based on the light conditions of the previous shots.

I more or less started and finished the first two rolls of film in an afternoon in the first week, all without an in-body light meter. I decided to get them developed as prints-only, as they were mostly just “test shots” to see how things would turn out if I was guessing exposures (not to mention one of my first real experiences with manual focus).

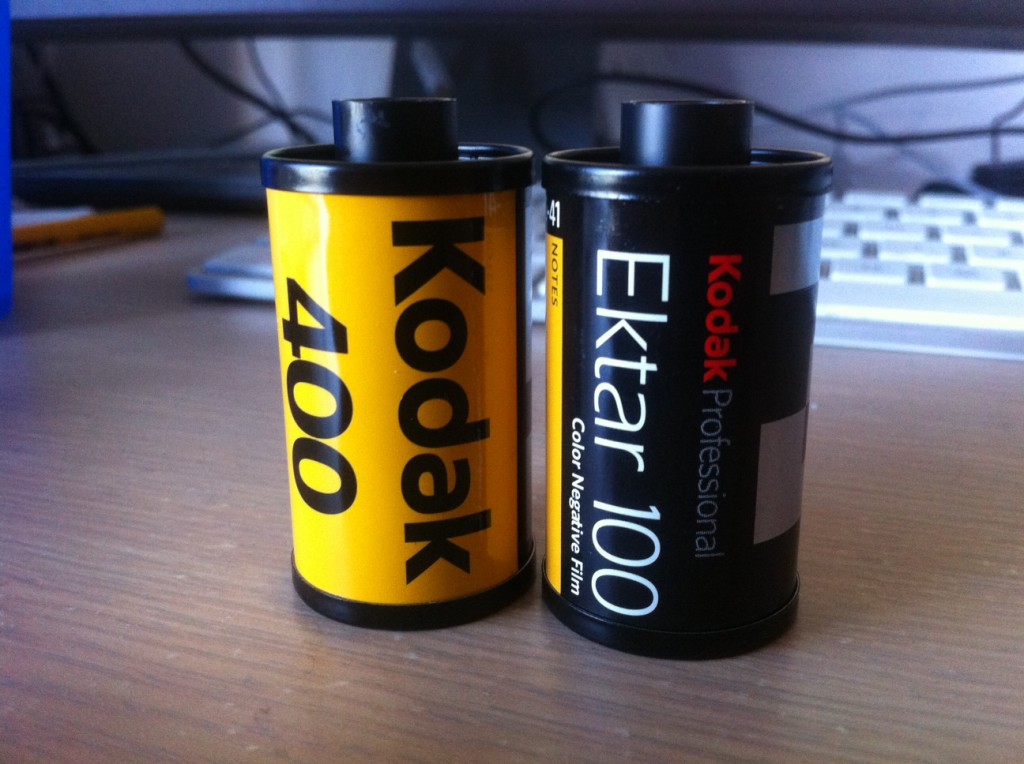
kodak gold 400 and ektar 100

These first two rolls turned out okay, surprisingly. I was guessing exposures for much of it, and only one or two were grossly over- or under-exposed. Most could have done with an extra stop (or minus) here and there, but mostly they were pretty good. Focus didn’t seem to be an issue either, but I think that could mostly have been attributed to the higher apertures I was shooting at, upwards of f/8 or so.

After the success of my first two rolls, I was excited to do another two, centered around what I would normally be shooting (i.e. candids of people on the street).I got them back last week, and imagine my disappointment when they turned out worse than the previous two rolls. Quite a few shots were out of focus and exposures were all over the place. Suffice to say, my manual focus skills could definitely be improved — but I was kinda expecting that with film that was two stops more sensitive (and thus needing slower shutter speeds/a wider aperture for the same light).

Taking photos with a rangefinder is incredibly good fun. If you’ve never experienced shooting with a film rangefinder, you’re missing out one of the best shooting experiences you can have. Part of it has to do with the fact that you’re doing exposures manually according to what your iPhone light meter says, or trying to do the whole “match needle” thing for every new lighting situation. The other part of it is the entire feeling of film photography: without getting too hand-wavey, depressing the shutter then manually advancing the film using the film advance lever every time you take a shot is something special, as is rewinding the film back into the cassette when you’re done with that roll.

The truth is, I’ve been wanting to try film for a while. Ever since getting a digital camera I’ve wanted to give film a go: not because there are any inherent advantages in film vs digital, but because it’s just something different. Plus, the barrier to entry is relatively low, with a few exceptions (ongoing cost of film and developing). Film has always held this kind of special aura for me, and that might have been to do with the fact that most of my childhood pictures are from an electric film camera (auto-advance and rewind, wow!) that’s still floating around, incidentally.

And you know what? I think I like it. I like it a lot, in fact. I don’t think I’m quite ready to ditch my digital kit entirely as that still has advantages of its own (on-demand, selectable ISO up to 12,800 without having to change film is more of a plus than you would think), but I’m warming up to the idea of shooting predominantly film. There’s something appealing about film photography that can’t be quantified in words, something that can’t be explained except in pictures. It’s just good fun. I’m not saying digital is cheap or anything, but shooting film gives you a whole different appreciation for photography, even more so if you’ve only shot digital thus far, and even more so again if you have an all-manual camera and you’re doing exposures manually.

Now, if only I had a better film camera…


  1. where I mean that while apertures are marked on the lens barrel, you can also have crazy apertures like f/3.1415, if you really wanted to. 

Shutter Priority

I’ll keep this short: don’t laugh, but I learned when1 to use shutter priority the other day, and it boils down to this: when you want to shoot at a certain shutter speed, then use shutter priority.

I’ve posted about this before:

So much of the time it’s like the three pillars are the world’s most intricate balancing act. Say you’re shooting people in an area where there isn’t much light. You start off in Av, at f/2.8 with an ISO of 100 — the camera says you’ll need 1/8th of a second, which means camera shake then becomes a factor. Upping the ISO above 800/1000/1250 means you have a more respectable shutter speed of 1/30, maybe even 1/60, but even at those speeds a shot can still be ruined by subject motion. In this kind of situation, what can you really do without adding more light into the equation? More ISO means your photos are starting to be fairly grainy indeed, and you can’t open the aperture any more because you’re already at the limit of your lens (or you want the DOF because nailing focus is hard, etc). Photography in these kinds of situations is seriously challenging, and it’s times like these that make you think: “hey, this stuff isn’t just child’s play”.

Then there was that short except that mentioned the theory behind shutter priority:

When you’re in low light, the two main worries are about exposure (not getting enough light) and camera shake (blurry pictures). If you set the camera to aperture priority then you’re only really dealing with half of the problem, which is light. When you’re in shutter speed priority, you can account for the camera shake (say, 1/30 or 1/50 of a second) and the aperture will adjust around the speed to produce the exposure.

I read that. Thought I understood it. It wasn’t until I actually tried it (and it worked) that I really understood it, though.

I shot a thing that didn’t have great lighting, and I was already at the ISO I was happy to shoot at (800, if you’re curious). I turned the mode dial to shutter priority, set it to 1/250, and voila — photos. Photos with a tiny DOF due to the 1.4 aperture of the lens I was using, yes, but much, much better than blurry photos. Maybe I’ll up the ISO next time even further; it’s only really noticeable in a handful of shots, and I would have liked more DOF for some group shots.

All in all, I was pretty happy with the results: this was probably the first “oh wow, this stuff actually works” moment I’ve had since taking photos. It’s crazy to think what’s possible if only I would try.

Up next: a short thing on film. Or maybe that Kindle review, we’ll see.


  1. Those with excellent reading comprehension will notice I used the word “when” instead of “how”, and that makes all the difference in the world. Like I said: you can read a billion things on photography and how to take better photos, but sometimes it won’t really click until you get out there and do it. Better gear won’t necessarily make you a better photographer, but more time behind the lens (usually) will.